
Sealing around a bath
Whether you're installing a new bathroom or just updating your current one, resealing your bath is an important step. It helps prevent leaks, keeps mould away, and protects your space. A good seal not only keeps joints watertight, but also helps your bathroom stay clean, fresh, and looking its best over time.
Resealing might sound like a job for a pro, but with the right tools and guidance, it’s something you can absolutely do yourself. Read on for everything you need to know – from removing the old sealant to choosing the right product and applying a clean, smooth finish.
A Complete Guide
Why It’s Important to Reseal Your Bath
Sealing around your bath, shower, sink, or toilet helps prevent water from leaking into joints and gaps, which can cause damage to walls, floors, and cabinetry over time. More importantly, it helps avoid the growth of black mould and mildew – a common issue in damp, poorly sealed areas.
Regularly checking and refreshing your sealant when signs of wear or mould appear will keep your bathroom looking and functioning its best.
Step-by-Step Guide: Resealing Your Bath
1. Removing the Old Sealant
Before applying any new sealant, it’s important to completely remove the old one.
- Use a sealant remover tool or a safety knife to carefully cut along the line where the sealant meets the bath and the wall.
- Once loosened, gently pull or scrape the silicone away from the surface. Try to remove as much as possible to create a clean base for resealing.
- Take care not to scratch or damage tiles, stone, or enamel surfaces.
- For stubborn residue, apply Soudal Silicone Remover and leave it for a few minutes before wiping clean.
Top Tip: Ensure all surfaces are completely dry and free from debris before applying new sealant.
2. Clean & Degrease the Area
- Wipe the surfaces with a clean, dry cloth.
- For best results, use Soudal Cleaner & Degreaser to remove any leftover oils, soap scum, or dust.
- Allow surfaces to fully dry before moving to the next step.
3. Fill the Bath with Water
Filling the bath before sealing helps the tub settle into its lowest position. This reduces tension on the sealant line and prevents cracking later when the bath is in use.
Wait until the sealant has fully cured before draining the bath.
4. Mask the Edges
To get a neat, professional finish:
- Apply masking tape above and below the area to be sealed, leaving a consistent 5mm gap where the sealant will sit.
- This helps avoid smearing and keeps your line perfectly straight.
5. Cut and Load the Cartridge
- Cut the tip off the sealant cartridge and screw on the nozzle.
- Trim the nozzle at a 45° angle to match the width of the joint.
- Insert the cartridge into a caulking gun and squeeze until sealant begins to flow.
TOP TIP: Cutting at an angle helps control the bead and ensures better application into corners.
6. Apply the Sealant
- Starting at one corner, apply a steady bead of sealant into the joint using a continuous, even motion.
- Don’t rush – make sure you apply enough product to ensure a strong, watertight bond.
If you're working with natural stone surfaces like marble or granite, use Fix ALL Flexi instead of traditional silicone to avoid staining.
7. Smooth the Joint & Remove the Tape
- Wet your finger or a finishing tool with soapy water and run it along the bead to smooth it out.
- Immediately remove the masking tape while the sealant is still wet.
- Lightly smooth again if needed to ensure no raised edges.
Allow the sealant to cure fully before using the bath or getting the area wet.
Choosing the Right Sealant for the Job
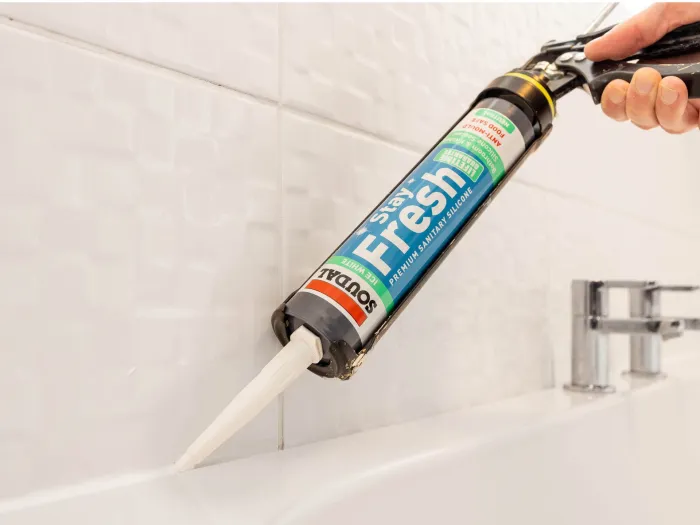
Stay Fresh – The Anti-Mould Specialist
- Best for: Bathrooms, showers, kitchens – anywhere prone to humidity
- Benefits: Food-safe, anti-mould, long-lasting
- Formulated to fight mould, discolouration and fungus, Stay Fresh provides a clean, hygienic finish that stays that way. It’s ideal for all standard bathroom surfaces, including tiles, ceramic and acrylic.
Fix ALL Flexi – Seal & Bond in One
- Best for: Natural stone surfaces and high-humidity zones
- Benefits: Doesn’t stain stone, usable on wet surfaces, extra flexibility
- A hybrid polymer sealant and adhesive, Fix ALL Flexi works where silicones can’t. It’s perfect for bonding and sealing in one go – even when surfaces are damp.
Self-Adhesive Sealing Strips
- Best for: Quick, easy sealing without tools
- Benefits: No cure time, no cartridge, immediate watertight seal
- Ideal for DIYers who prefer a mess-free option, these strips are simple to apply and offer a reliable seal around baths, sinks, and showers. Just peel, stick, and press into place.
Need Help Choosing?
You can find detailed instructions, usage tips, and technical information – including shelf life and composition – on our product pages. Whether you’re sealing for the first time or looking for an upgrade, we’ve got the right solution for you.


Sidebar
Requirements
-
Degreaser
-
Safety cutter
-
Masking tape
-
Clean cloth
-
Soudal Joint Finish or soap solution
-
Plant sprayer with clean water